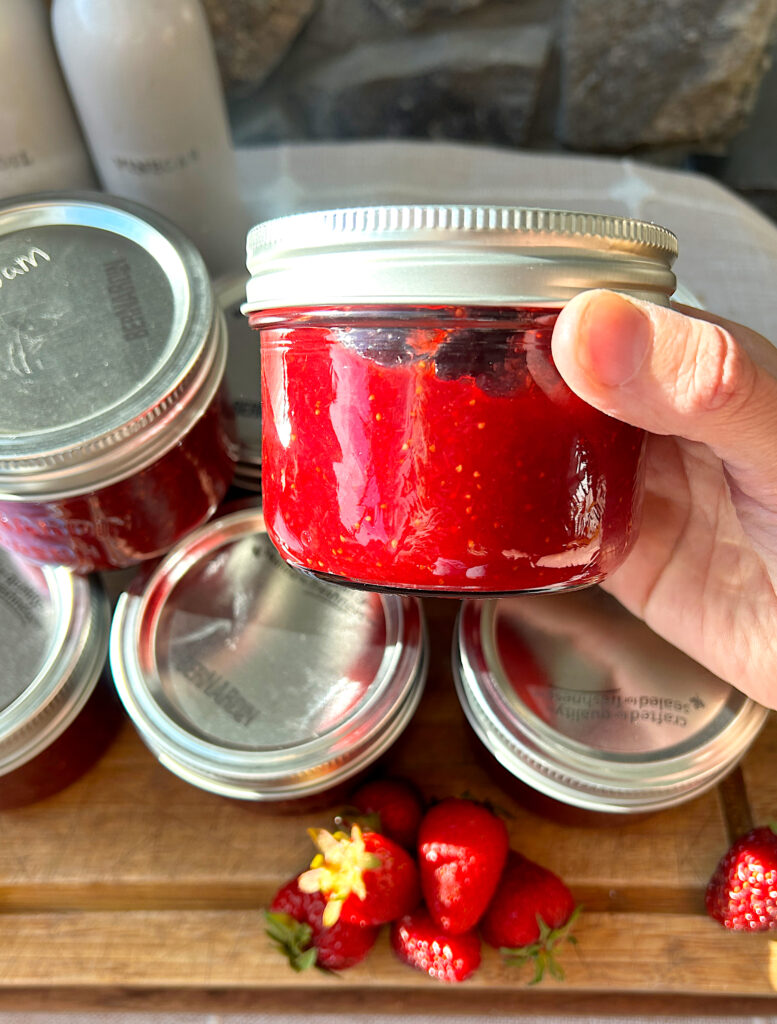
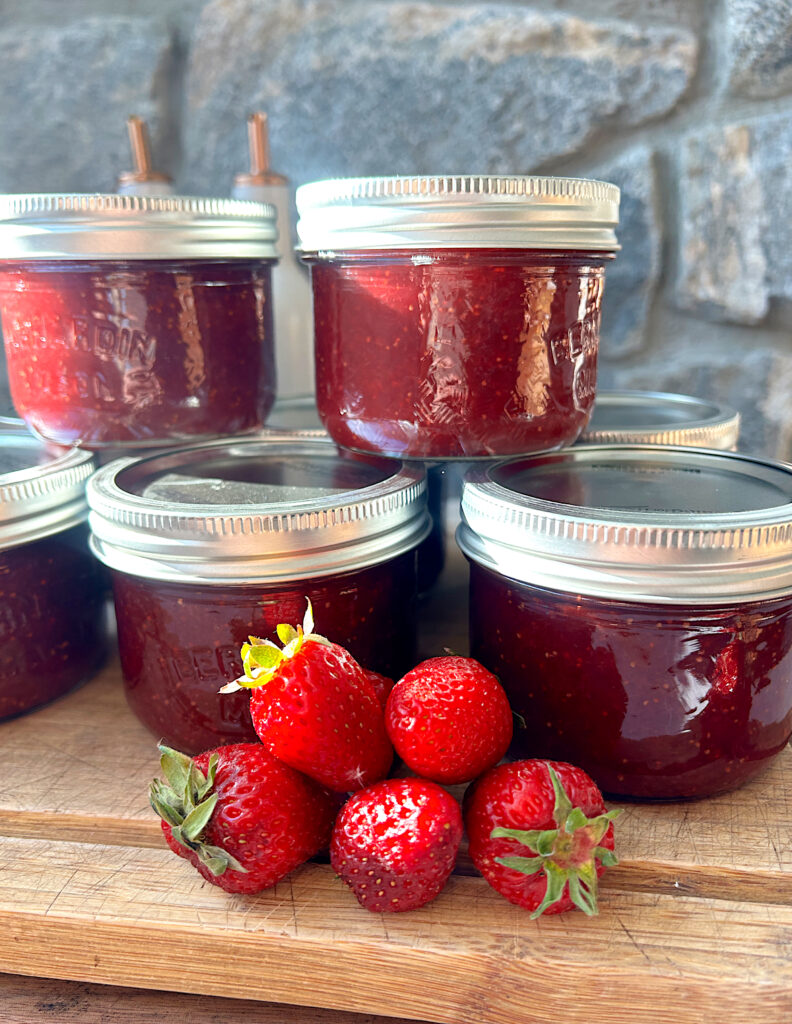
Easy, No Pectin Homemade Strawberry Jam
Strawberry season is here, and what better way to use those glorious berries than by making homemade strawberry jam! This is a simple, easy to make, no pectin jam, lighter in sugar. It tastes absolutely incredible and everyone loves it.
If you have been wanting to start making more food from scratch, jam is a beautiful place to start. You only need a couple ingredients, it is simple to can and can be added to so many different things to be enjoyed!
This homemade strawberry jam is simple in that it only requires 4 ingredients and doesn’t use pectin. Instead it uses the natural pectin found in apple to help give you that beautiful jam consistency. You start by blending the strawberries, then add in all the other ingredients and cook over the stove. It does take a little while to boil down and get thick, compared to when you use pectin, but I promise it is worth it!
Once the fruit gets thick and jam, you spoon it into hot jars, place the lids on and then into a water bath canner they go. It is that simple! Alternatively if you do not want to can your jam, you can simply fill the jars, place the lids on and store in the freezer. A simple option for those who don’t like to can.

Tips for Making No Pectin Strawberry Jam
- Grate the apple for the jam nice and small. I like to use the fine grate setting on my grater, that way the apple dissolves as the jam cooks down and you get the natural pectin without any apple flavor. You can’t even tell it is in there.
- Give yourself lots of time to let the mixture cook down. Patience is key when you aren’t using pectin. If you do not allow the jam enough time to reduce, it will not get thick enough to spread like jam.
- If you decide to make it as freezer jam and not can it, you want to give yourself a little bit of extra head space. You want about half an inch so that there is room for the jam to expand in the freezer keeping it from exploding.
No Pectin Homemade Strawberry Jam Ingredients
Strawberries– You can blend them for smooth jam or slice them if you like it chunky.
Sugar– This is a reduced sugar jam, so it will be slightly less sweet than typical jam.
Lemon Juice– This acidity, helps the pectin set, because strawberries are low in acid.
Apple– Peeled and grated, nice and fine. This is giving you the natural pectin to help your jam thicken.
Salt– Optional, but I like to add a pinch of salt.

The Steps
Make the Jam
- Start by removing all the tops of the strawberries, then weighing out 4lbs.Then slice them if you want chunky jam or cut them in half and running them through the blender if you want smooth jam.
- Add the sliced or smooth strawberries to a large bowl, then stir in the sugar, grated apple, lemon juice and salt. Let that sit for about 10 minutes.
- Next, you are going to pour the jam mixture into a large pot or deep sauce pan. Cook the jam over medium low heat, until the sugar dissolves, then stirring frequently bring the jam to a boil over medium heat.
- Once it is boiling, reduce the heat slightly, then cook the jam for about 40 minutes, stirring frequently to avoid burning the sugar. This process will take some time but is essential it getting your jam to thicken.
- After 40-50 minutes, you can check the jam by dipping the back of a spoon in the jam. Swipe your finger down the middle, and if the jam doesn’t bleed back into the center of the spoon then it is good to go.Remove the jam from the heat.
Fill the Jars
- Then, you are going to fill your sterilized jars. I like to boil my jars in my water bath canner for about 15 minutes while my jam is cooking so they are warm and sterilized. You always want to be putting hot liquid into hot jars.
- Using a ladel and a funnel if you have one, spoon the jam into each sterilized jar, leaving about 1/4 inch head space in each jar. If you are going to freeze the jam instead of water bath can it, leave about 1/2 an inch head space in each jar.
- Wipe the rims of the jars with a cloth, then place the sterilized lids on top and screw the rings on finger tip tight.
- If you are freezer the jam, this is where you will allow the jam to cool in the jars, then store in the freezer. If you are canning them, place the jars in boiling water in your water bath canner, making sure they are covered with water, then place the lid on and boil for 15 minutes. You can look up water bath canning adjustments depending on what altitude you are at. We are around 3000 meters and do 15 minutes.
- Once the cans have boiled, removed them from the pot and allow them to cool before storing. Enjoy!
If you give this recipe a try, leave a comment or a recipe review below!
Thick, perfectly sweetened homemade strawberry jam made without pectin! * If you want a smaller batch of jam, you can absolutely half this recipe. * I would not recommend doubling this recipe, because without the pectin it would take. way longer to get a double batch boiled down to get it thick. * The jam will store in the fridge for around 3 weeks once opened, and will store in the freezer for about 6 months. * Once the jars have cooled down, it is always a good idea to just double check that all the jars sealed. If you notice any did not, we just usually will put that jar in the fridge and eat it first! 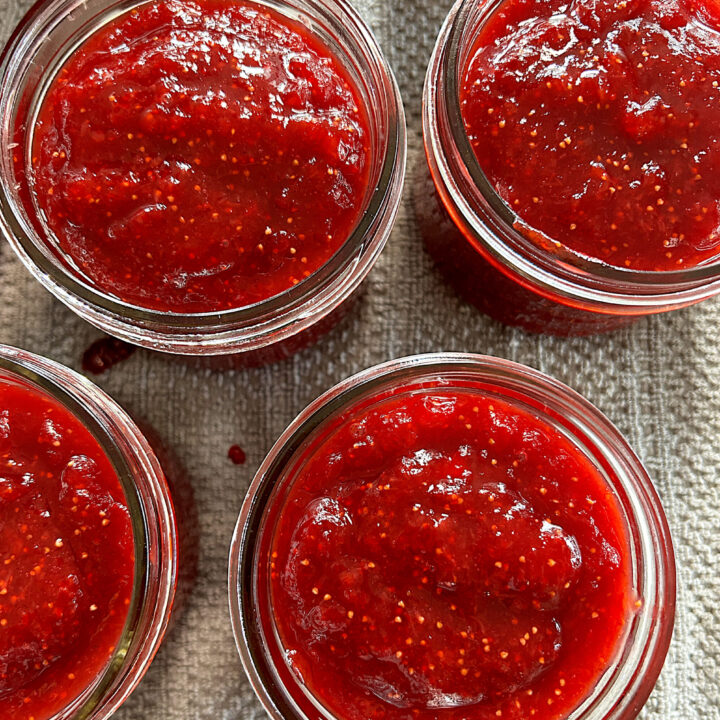
No Pectin Homemade Strawberry Jam
Ingredients
Instructions
Notes