
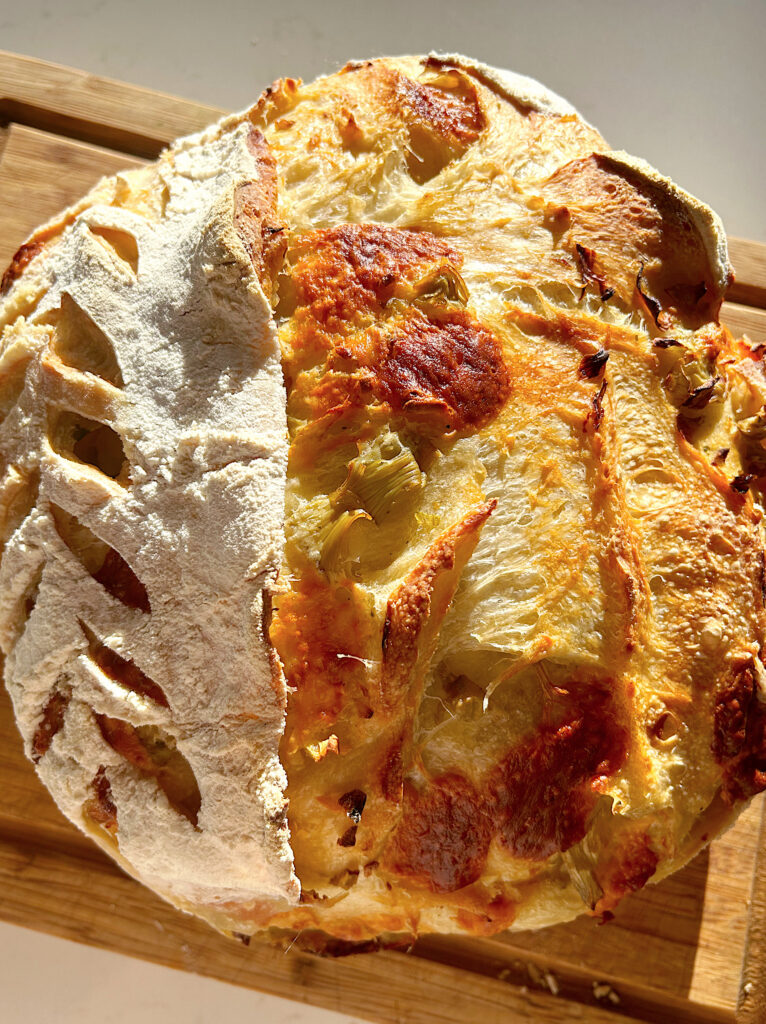
Cheesy Garlic Artichoke Sourdough Bread
When I tell you that this Cheesy Garlic Artichoke Sourdough Bread is the best thing you will ever smell, that is no lie!!! It is all the flavors of warm artichoke dip but mixed with fresh sourdough bread…..UNREAL!

I am always looking for new mix ins to try in sourdough bread and when I had a jar of artichokes staring at me in my pantry, I knew exactly what I needed to do.
Cream artichoke dip will forever be one of my favorite appetizerz to enjoy and when you can put all of those flavors into fresh bread, it takes it to a whole other level. Make this Cheese Garlic Artichoke Sourdough to enjoy for sandwiches, with eggs for breakfast or served warm with butter for an appetizer. No matter which way you serve it, everyone will love it!
Tips for Making Cheesy Garlic Artichoke Sourdough Bread
- Use a nice and strong active starter that is at its peak. I always recommend feeding your starter a 1:5:5 ratio about 8-10 hours before you want to make your bread. It should be nice and bubbly, doubled in size and half a flat top when it is ready to use.
- Be sure to allow the dough to bulk ferment long enough. If your dough is underproofed it will yield a dense and gummy bread. Typically a bulk ferment on the counter will take anywhere from 5-8 hours depending on the temperature in your home. You will know it has ferementedlong enough when it is niced and fluffy looking, at leas doubled in size and not so sticky to the touch.
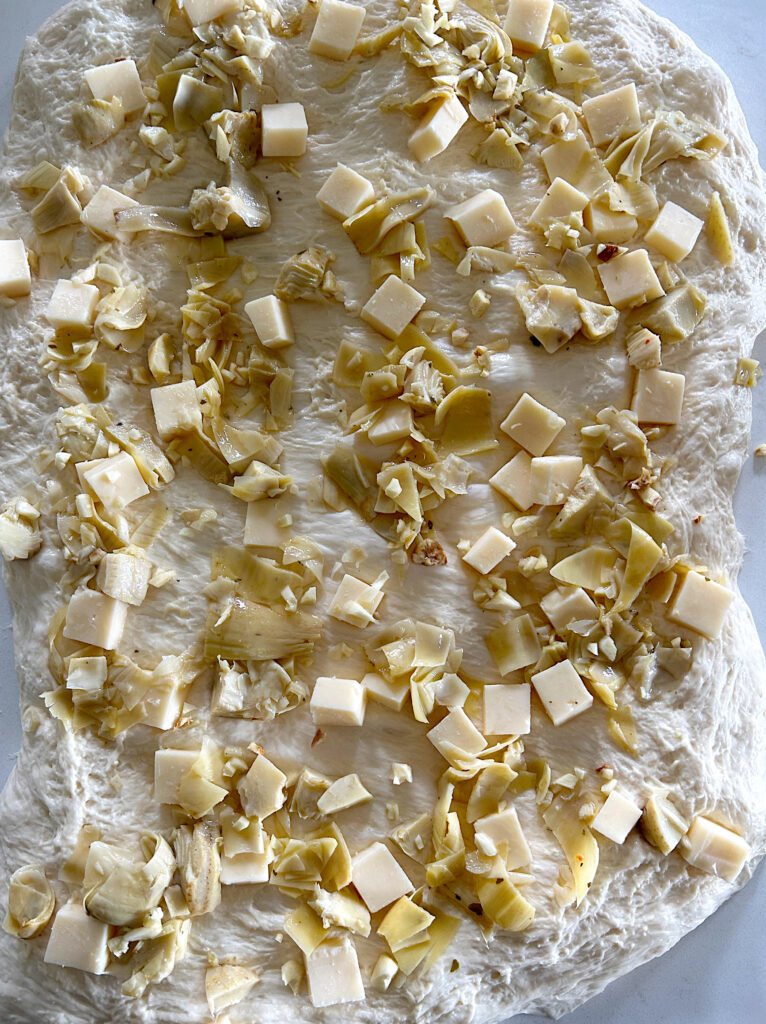
- Do not stretch your dough too thin before adding all of the ad ins. If the dough is too thin, when you fold it into your loaf shape, it may tear and your ad ins will spill out.
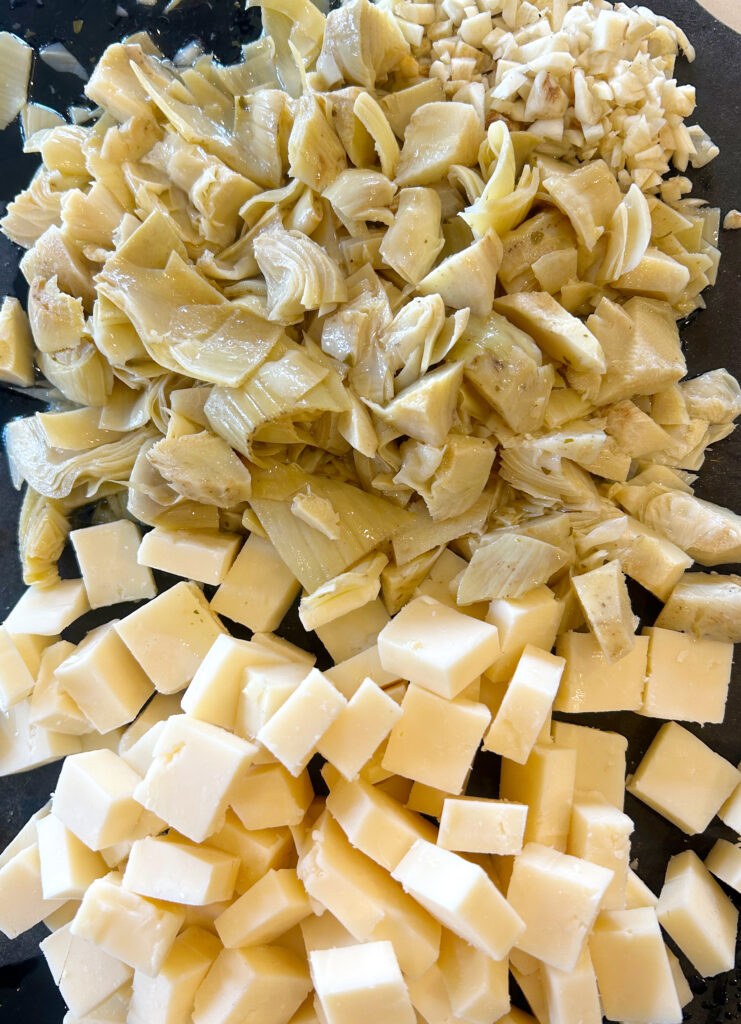
- Pat the marinated rtichokes dry with a paper towel before adding them to your dough. All of the excess oil can give you a dense, and uneven cooked loaf if you do not remove it!
Cheesy Garlic Artichoke Sourdough Ingredients
Flour– Use whichever type of flour you typically use to make your sourdough bread. Unbleached all purpose or bread flour would be my recommendations.
Sourdough Starter– Make sure it is fd and active sourdough starter that has reached its peak for ultimate rise and texture.
Salt– Almost any salt will work. I use pink himlayan salt.
Marinated Artichokes– These are the ones you will find in a jar with oil. They are tender and full of flavor.
Mozzarella Cheese– This is the perfect mild, yet creamy and smooth cheese to ompliment the strong artichoke and garlic flavor.
Garlic– As always, I recommend using fresh garlic opposed to pre minced garlic from the store.
The Steps for Making Cheesy Garlic Artichoke Sourdough
Make the Dough
- Start by mixing the water and sourdough starter in a large mixing bowl.
- Then, add in the flour and the salt. Mix gently until a dough start to form, then I like to finish mixing it by hand until its a shaggy dough with no dry spots remaining.
- Cover the bowl with a tea towel and let rest at rom temperature for 45 minutes.
Fold and Bulk Fermentation
- Once rested, perform the first set of stretch and folds or coil folds . I prefer coil folds but this video will show you both and either one will work. Cover the bowl and let rest for another 30 minutes.
- Repeat step 4, 2-3 more times. If you have the time, do it 3 more times but if you don’t, you can have great bread with just the 2.
- When you are done all the folds, cover the bowl back up and let it rest at room temperature for 4-6 hour or up to 8. I like to finish my folds right before bed so that my bread can rise for 8 hours while I sleep. Our house stays around 18 degrees Celsius. If your home is warmer than that, I recommend starting with 4-6 hours. You will know your bread is done rising when it has doubles in size and is no locker sticky to touch. It should be domed on the top and look soft and fluffy.
Shape
- Next, its time to shape the bread. Dump the dough out onto the counter and gently stretch into a rectangle. Pat the artichokes dry with a paper towel to remove excess oil then sprinkle a generous layer of the cubed cheese, the artichokes and garlic all over the dough.
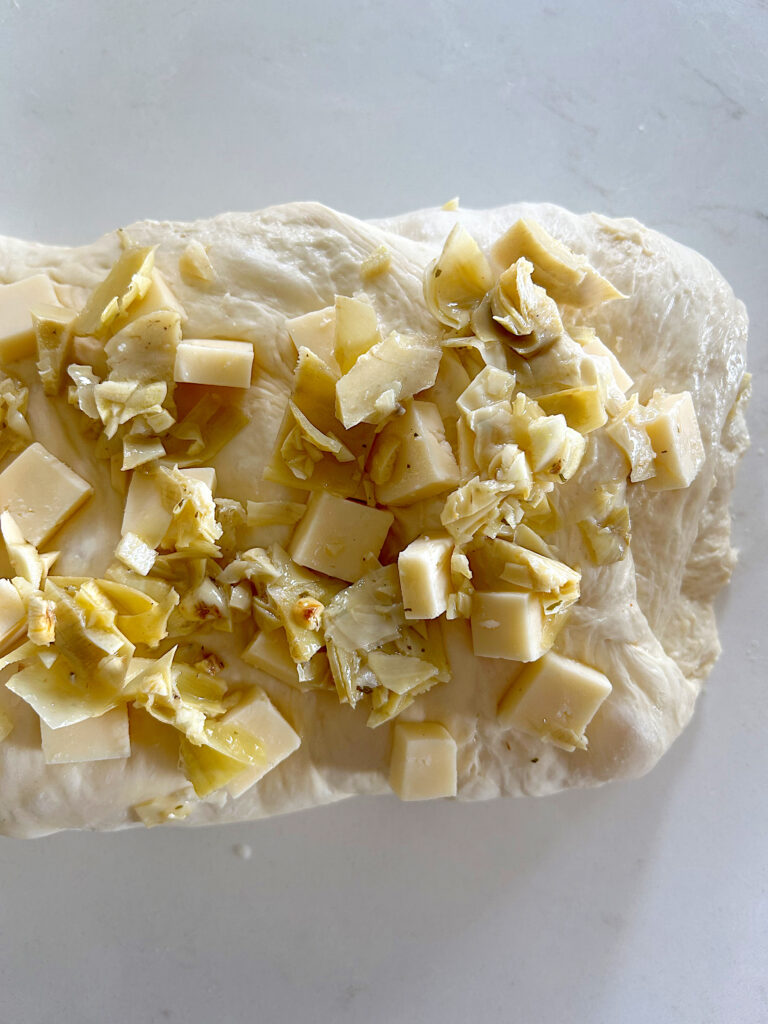
- Fold the top third of the dough into the middle and add more cheese, artichokes and garlic on top of that folded piece. Then fold the bottom third into the middle over top and sprinkle the remaining cheese, artichokes and garlic all along the now log of dough.
- Start from one end of the folded dough, and roll it up. Then take the open sides of the rolled dough and gently pinch them together.
- Using the heel of your hands, gently push the ball of dough away from you on the counter, then pull it back toward you. Imagine you are drawing a candy cane shape on the counter with your ball of dough. Repeat this 4-6 times, until the top of your dough is tight and smooth. This whole step, is to build surface tension on top of your loaf.
- Gently flour the inside of your banneton or place tea towel inside a bowl and flour that. Flip the dough upside down placing the smooth side inside the banneton or bowl.
- Next you are going to stitch the bread. This is where you pinch the dough and pull it into the center to create more tension on the top of your bread. You will do this around the whole ball of dough.
- Sprinkle some flour over top of the dough, then cover each banneton or bowl loosely with plastic wrap. Place in the fridge to ferment for minimum 8 hours or up to 2 days.
Bake
- When you are ready to bake the bread, preheat your oven, with your empty Dutch oven inside to 450F. You want the Dutch oven to get nice and hot.
- Pull the bread out of the fridge and flip it out onto a piece of parchment or a bread sling.
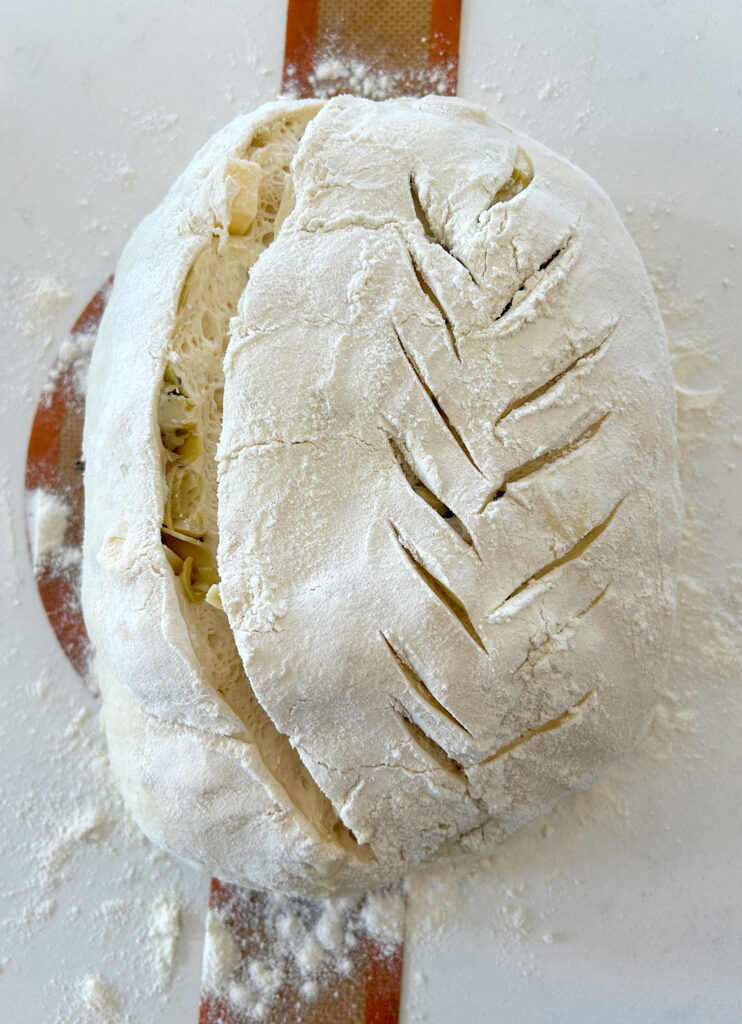
- Using a sharp knife or a bread lame, score the top of the bread. You can do any pattern you choose, but the most important thing is that you score one big cut (about 1/4-1/2 inch deep). This is called an expansion score, which allows your bread space to grow while it bakes.
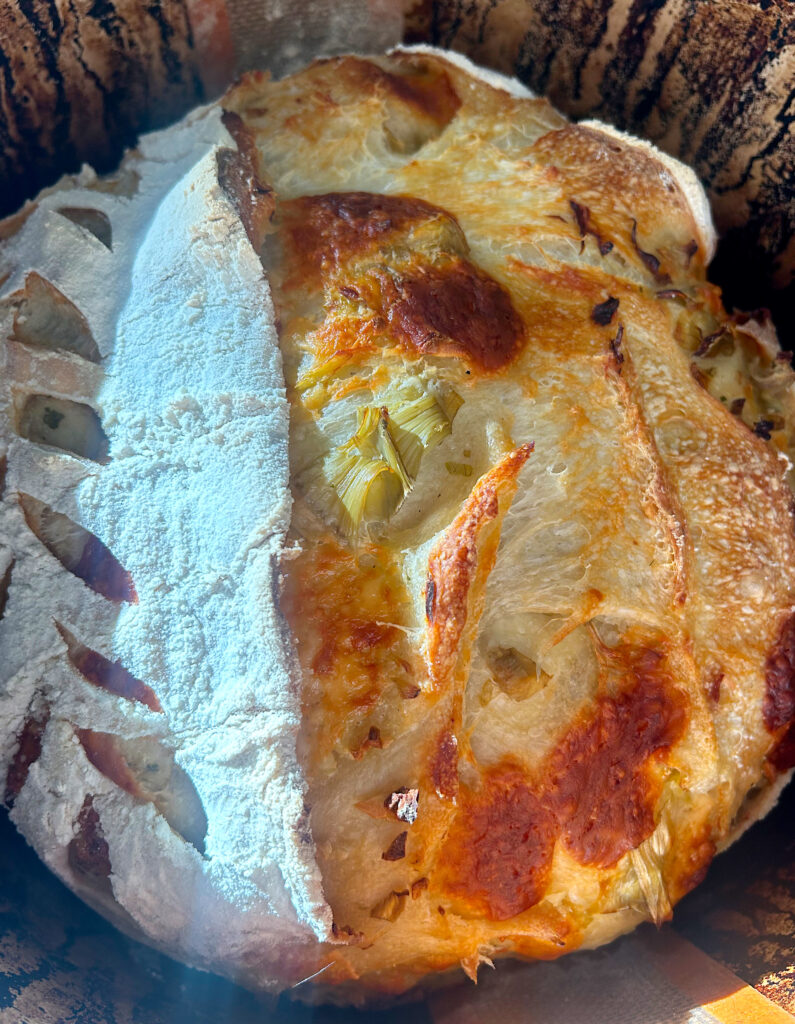
- Lift the bread into the hot Dutch oven and bake with the lid on for 20 minutes then remove the lid, turn the oven down to 410F and bake for another 20-25 minutes or until desired color. I typically like about 22 minutes for a loaf that is not too brown and crispy.
- Remove the bread from the oven and allow it to cool for 1-2 hours before slicing with a sharp bread knife.
If you give this bread a try leave a comment or give the recipe a review!
Looking for more delicious sourdough recipes? Try some of my favorites below.
https://cmbarndominium.com/the-best-cheesy-garlic-dill-sourdough-bread/
https://cmbarndominium.com/raspberry-brownie-sourdough-focaccia-bread/
https://cmbarndominium.com/soft-fluffy-jalepeno-cheddar-sourdough-english-muffins/
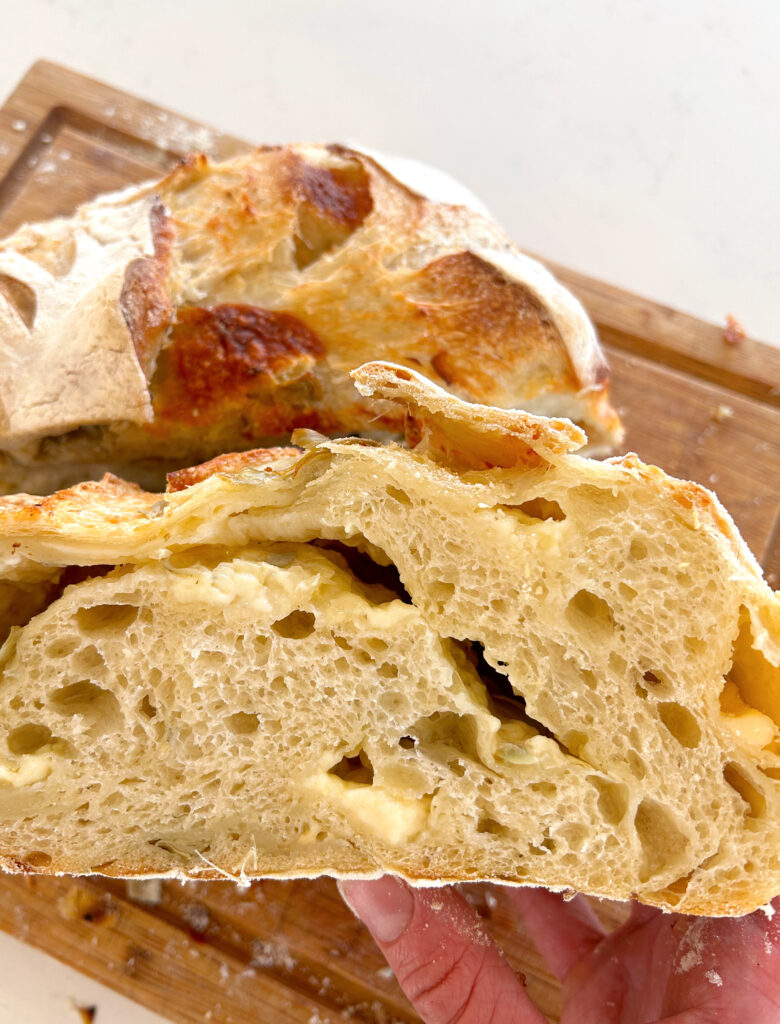
Soft and chewy Sourdough Bread filled with creamy moazzarella, fresh garlic and marinated artichokes. All of the flavors you love in a cheesy artichoke dip but in a loaf of sourdough bread! *Make sure you do not skip drying off the artichokes before adding them to the dough. The excess oil with result in a dense and unevenly baked loaf if you do not remove it. *Looking for an affordable, yet great dutch oven for baking your sourdough bread? I have this one and love it! *Start with 1 cup of cheese and if you feel like you need more go from there! 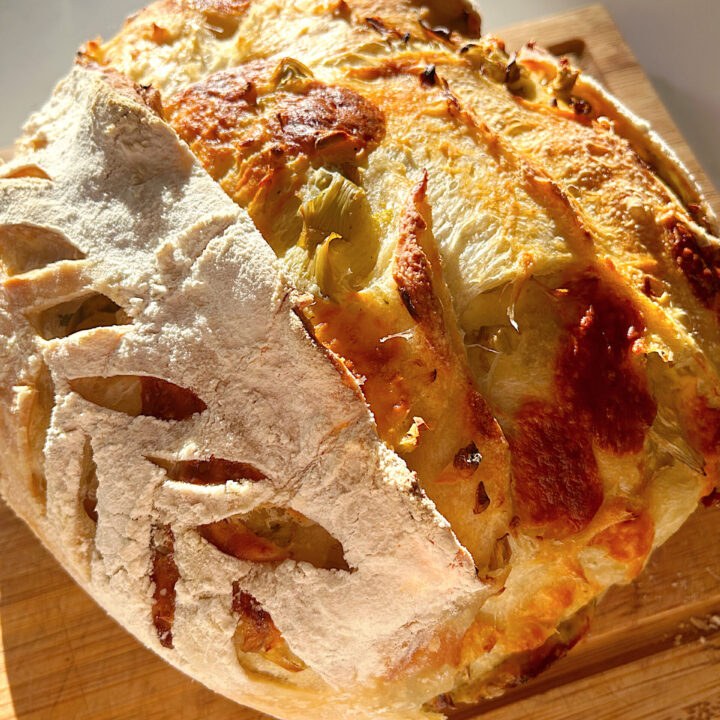
Cheesy Garlic Artichoke Sourdough
Ingredients
Instructions
Notes


I’m always looking for different sourdough inclusions to try and this was amazing tasting. I made a double batch (2 loaves), added the inclusions before the 2nd stretch and fold (225 g mozzarella and 1 14 oz jar of marinated artichoke hearts). Didn’t bother with the garlic since mine was on the old side of things. Still tasted incredible. Definitely reminiscent of a spinach artichoke dip. Thanks for sharing!
So glad you enjoyed this combo! It is oe of my current favorites.