Soft & Chewy Sourdough Pretzel Buns
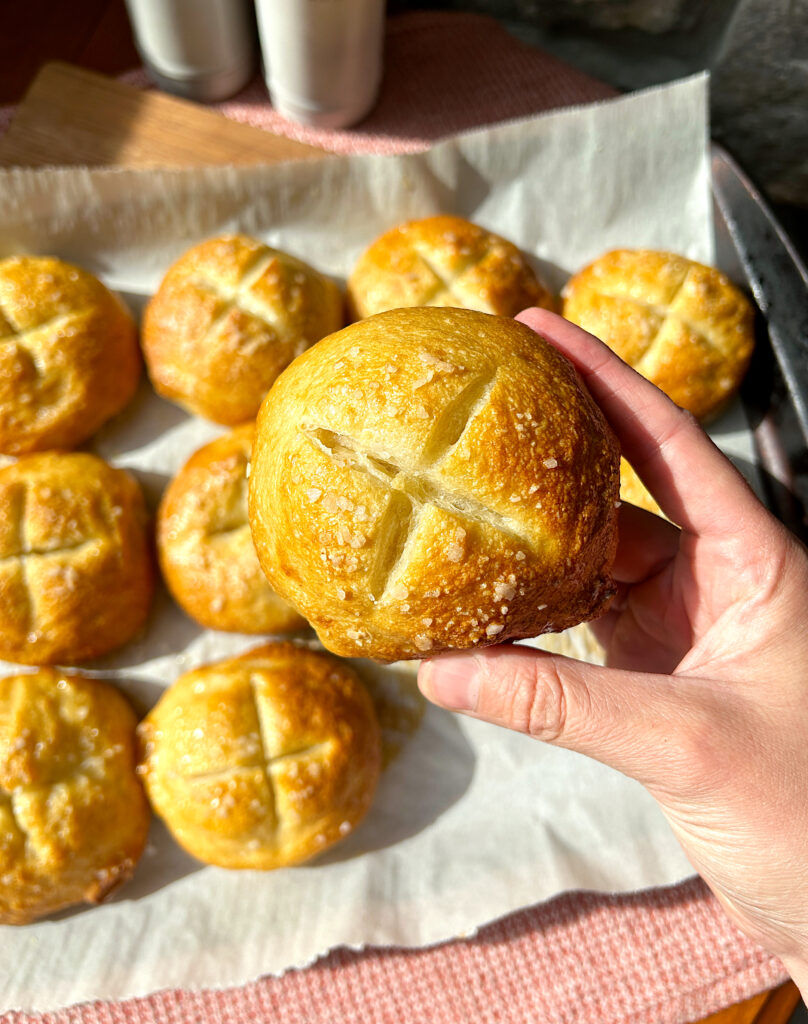
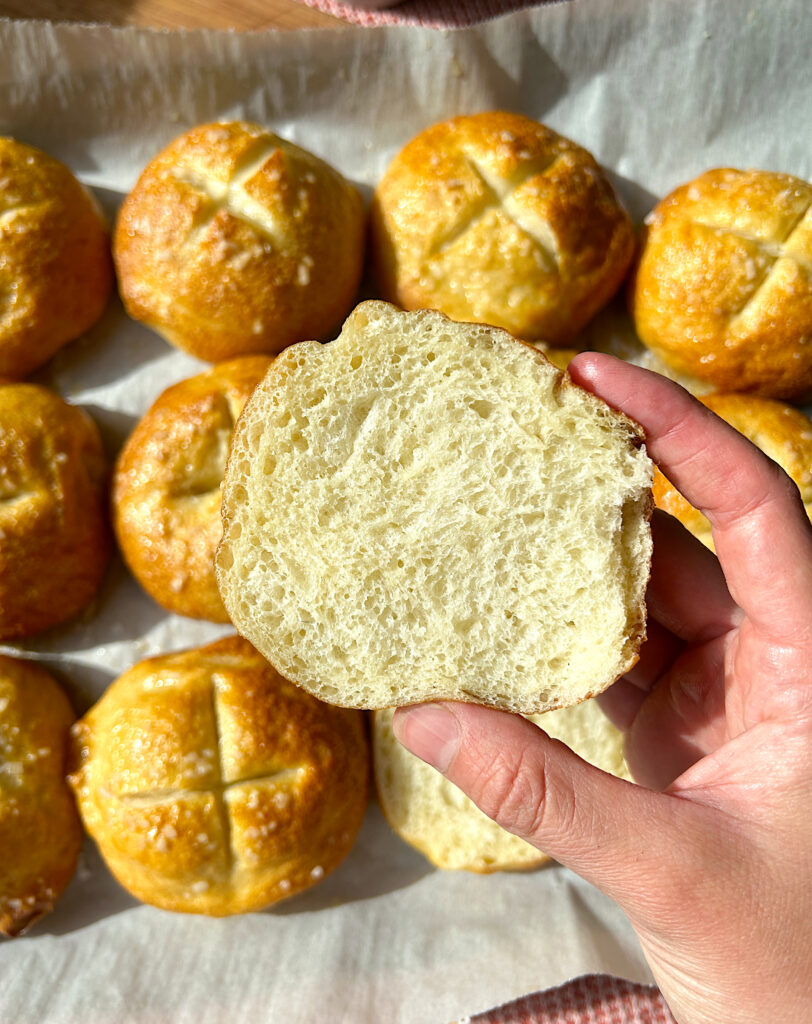
Everyone loves soft pretzels and turning them into Sourdough Pretzel Buns is a delicious way to enjoy them for sandwiches! These pretzel buns are easy to make, and give you that classic soft pretzel taste to make any sandwich better.
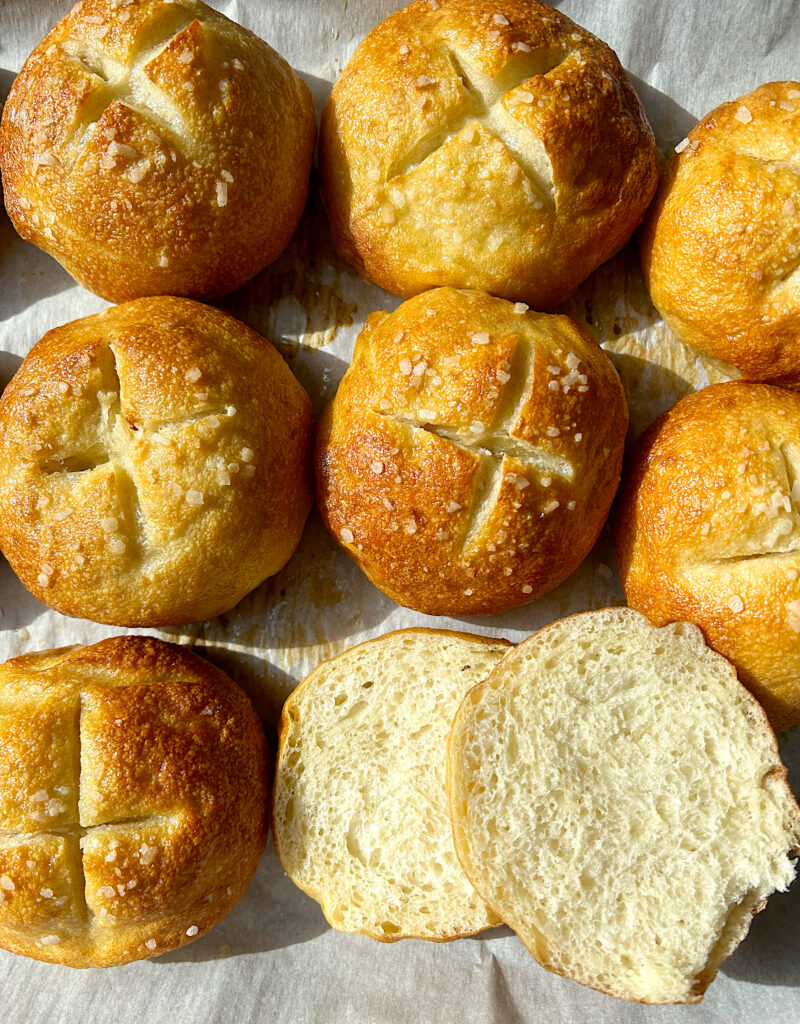
Whether you are looking for a delicious sandwich bun, or the perfect burger buns for grilling season you have to try these. Perfectly soft, chewy and buttery but in a fluffy bun form ready to be filled with anything you like.
These sourdough pretzel buns are easier than you make think. You simply start by making the dough and letting it rise over night. Then, you shape them and let them have one finally rise. Finally, to give them that classic soft pretzel taste you boil them quick in a baking soda bath then bake until golden and beautiful!
You can double this recipe if you would like to keep a batch stored in your freezer for anytime you need some buns. This recipe can make you 12 medium sized buns or 8 large buns. The choice is yours.
Tips for Making Perfect Sourdough Pretzel Buns
- Use a nice strong and active sourdough starter. Ideally you feed your starter a 1:4:4 ratio.
- Give the dough a good solid 10 hours or so to rise. It is a lower hydration dough so will rise slower than you are used to.
- When scoring the buns before baking, be sure to use a nice sharp bread lam or super sharp knife. It’s a bit tricky to cut into, but the cleaner the cut the prettier they will look.
Sourdough Pretzel Bun Ingredients
Sourdough Starter– as mentioned above you want a nice strong active starter.
Flour– Unbleached all purpose flour or bread flour works. Use what you usually use for sourdough.
Sugar– Just a touch goes in the dough.
Salt– I like a fine salt for the dough and a flaky salt for on top.
Melted Butter– Brushing the buns with this after baking gives them a beautiful shine.
The Steps
- Start my mixing together the first five ingredients in a bowl of a stand mixer or by hand.
- Once everything is combined, using a dough hook attachment or your hands, knead the dough for 8-10 minutes. If will be a stiff dough, but should get nice and smooth.
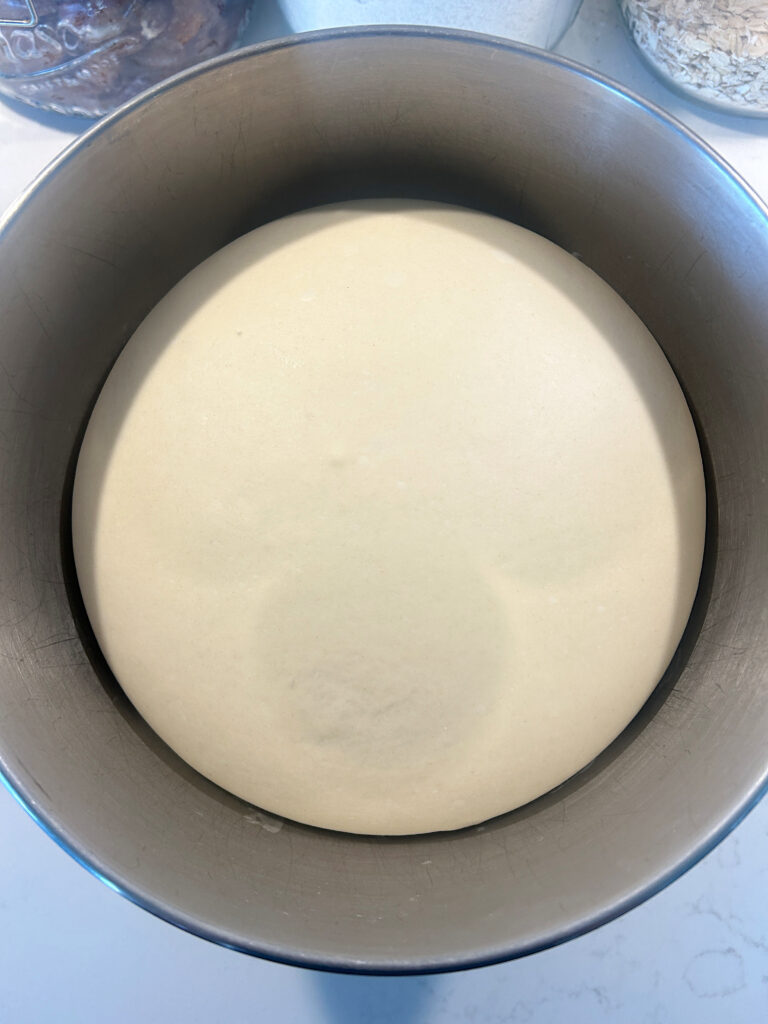
- Allow the dough to rise, covered with plastic wrap in the bowl over night or for about 10 hours. It should be a little more than doubled in size!
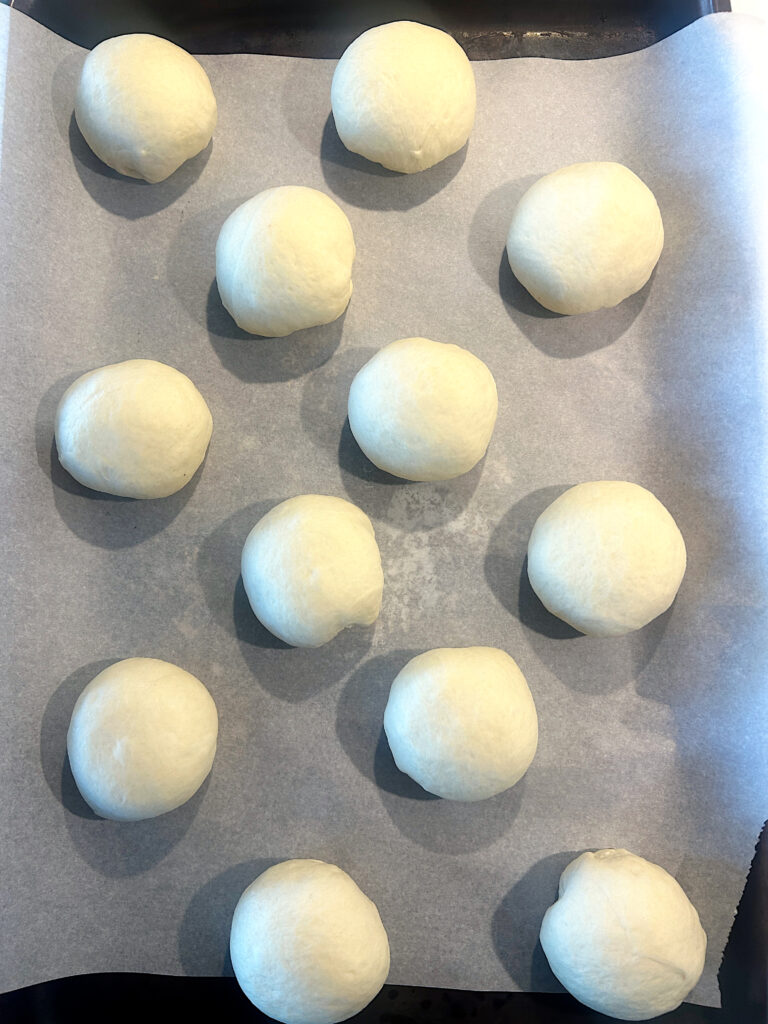
- After the dough has risen, dump it out and cut it into 12 roughly equal sized pieces. About 85-95g each. If you want large buns you can do 8 instead of 12.
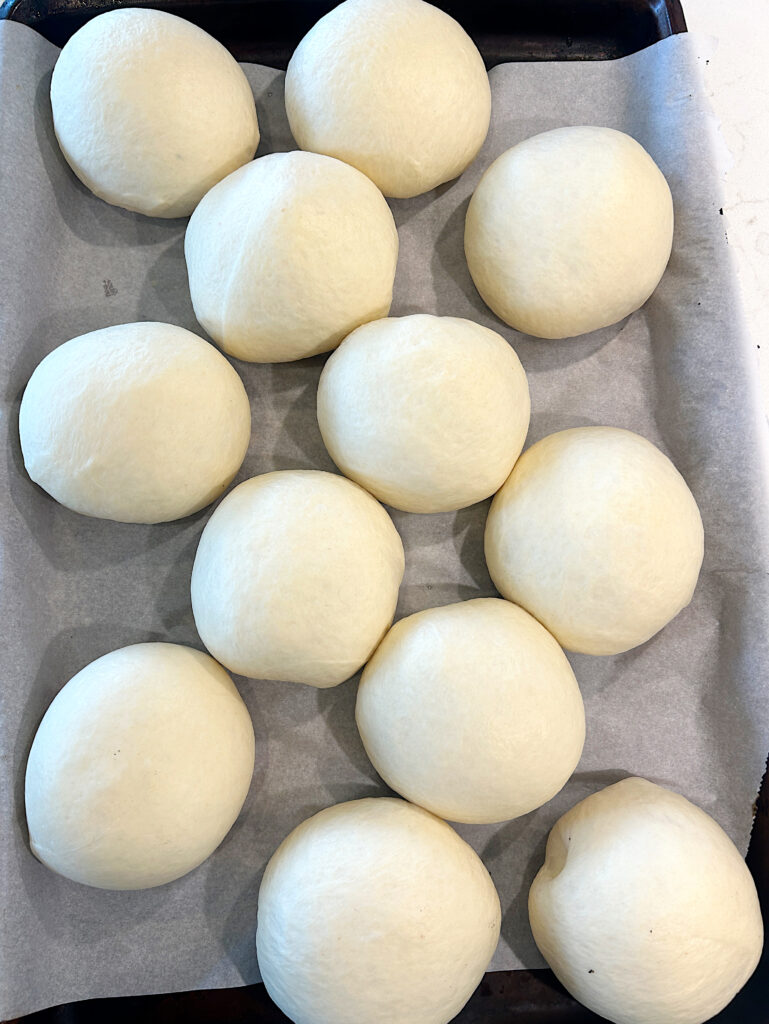
- Take a piece of the dough, and form it into a smooth ball by pulling the sides under its self all the way around, then I like to gently roll it on the counter 1-2 times to get it nice and smooth.
- Repeat this with all of the pieces of dough, and place the buns evenly spread out onto a baking sheet lined with parchment paper.
- Cover the pan of buns and let rest to get nice and puffy for about 3-5 hours.
- Finally, preheat your oven to 400F and bring a pot of water to a boil, with the 60g of baking soda in it.
- Gently lift each bun, and place it in the boiling water. Let each bun boil for 30 seconds, then flip and boil another 30 seconds before removing from the water and placing on a wire rack so the excess water can drip off.
- If you choose to add flaky salt, you want to sprinkle the top of each bun right after being boiled while it is still tacky.
- Place the boiled buns back onto the baking sheet of parchment, then bake for 15-20 minutes or until dark golden all over.
- Remove the buns from the oven, brush with melted butter and enjoy!

If you give this recipe a try, leave a comment or recipe review below!
Looking for more tasty buns to try?
https://cmbarndominium.com/soft-golden-brioche-sourdough-hot-dog-buns/
https://cmbarndominium.com/how-to-make-perfectly-soft-sourdough-ciabatta-buns/
Soft and chewy golden Sourdough Pretzel Buns perfect for sandwiches or burgers. * This recipe can be easily doubled. *If you aren't going to eat them all in a few days, I like to store the rest air tight in the freezer. 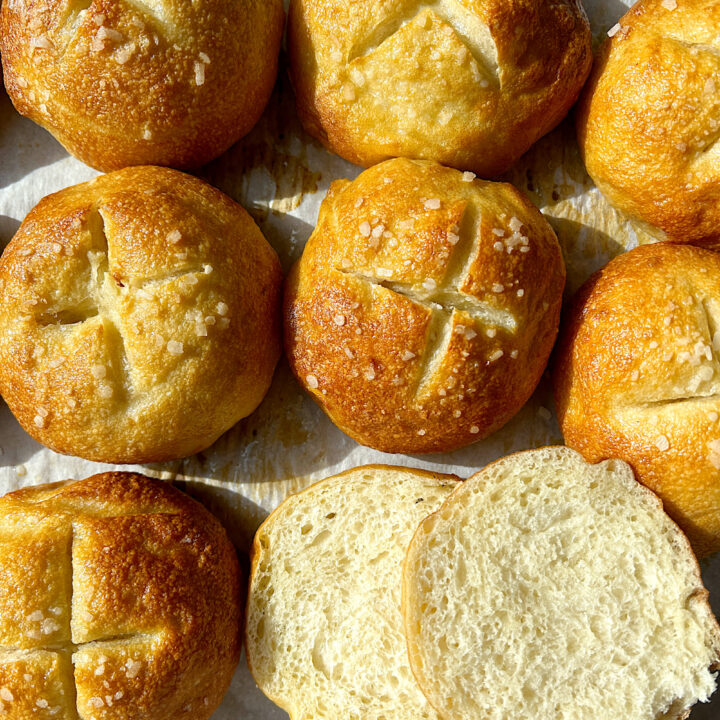
Sourdough Pretzel Buns
Ingredients
Instructions
Notes