
How to Make Perfectly Soft Sourdough Ciabatta Buns
Sourdough Ciabatta Buns are a staple recipe that every sourdough lover needs in their kitchen! This recipe is easy to make and will give you perfectly soft, and fluffy ciabatta buns every time.

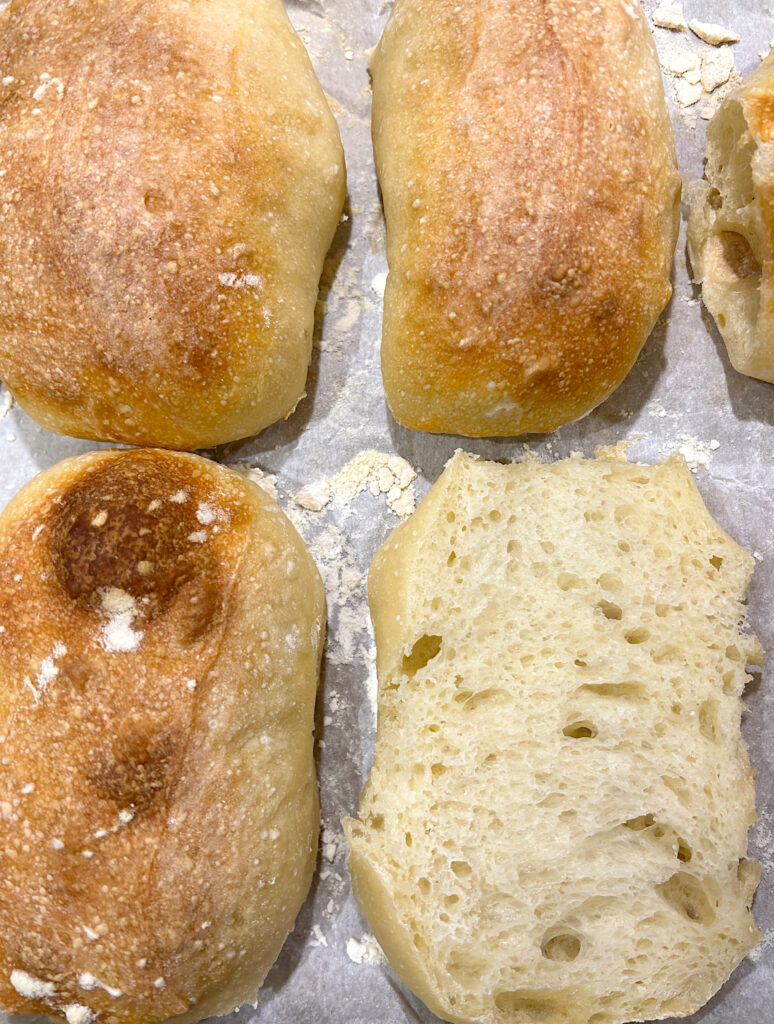
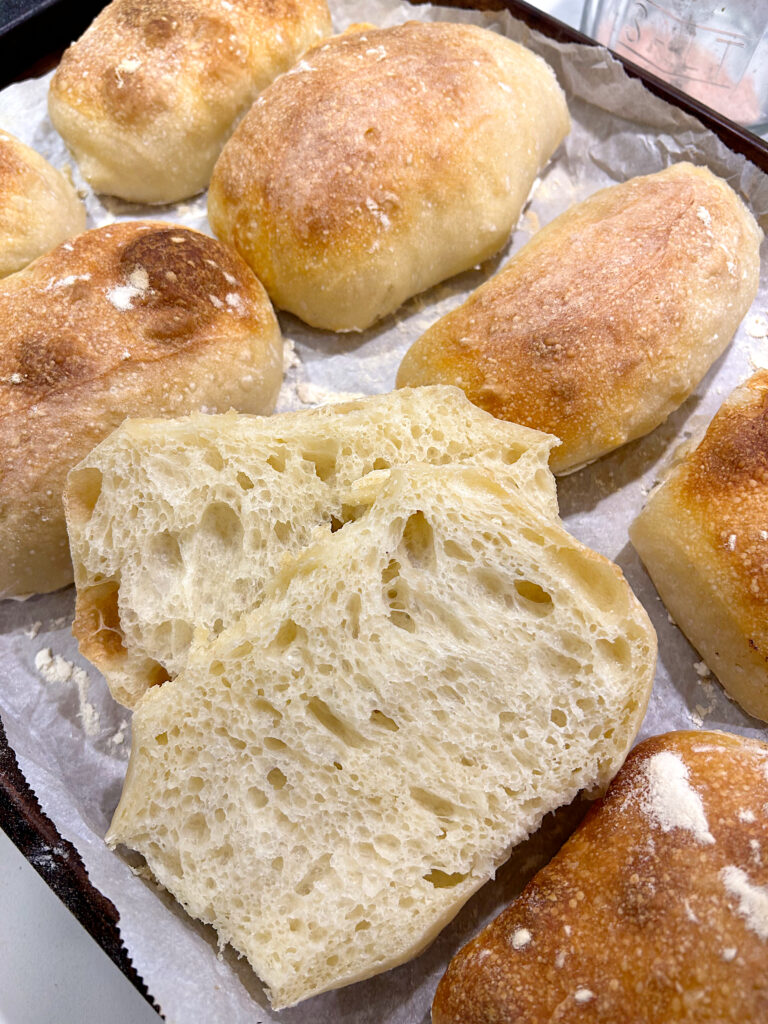
Whether you are looking for the perfect bun for a classic sandwich, breakfast sandwich, French dip or to go along side soup, these sourdough ciabatta buns are THE bun! They have a golden, chewy exterior with the most soft and fluffy inside you have ever tasted.
If you are feeling intimidated to try a new form of sourdough, let me be the first to tell you, it doesn’t get any easier than ciabatta. Because of its light, airy texture and organic looking nature, you hardly have to touch it once that dough has risen. You make the dough with just a few ingredients, do some stretch and folds, let it rise and then simply cut the dough and place it on a baking sheet. Bake until golden brown and you are done!
Sourdough Ciabatta Buns can be made in large batches and stored in the freezer for up to a month. Perfect for easy lunches, paninis for soup season and make the most incredible breakfast sandwich. Add this recipe to your staple sourdough baking list and thank me later ;).
Tips for Making Sourdough Ciabatta Buns
- Use a strong and active, fed sourdough starter. I recommend feeding your starter a 1:4:4 ratio about 8-10 hours before using it.
- Wet your hands while working with this dough. This is a high hydration dough so it is very sticky. Wetting your hands before doing your folds and transferring the buns to the baking sheet are necessary to prevent sticking.
- Handle the dough as little as possible when cutting it into buns and transferring to your baking sheet. Ciabatta is cows for is light, airy and bubbly texture, so you want to keep all that airy in there by being gentle with the dough.
Sourdough Ciabatta Bun Ingredients
Sourdough Starter– As mentioned above, you want to use a strong, fed and active sourdough starter for this recipe.
Flour– Unbleached all purpose or bread flour are best. Use whichever you typically use for making sourdough bread.
Salt– Almost any fine salt works. A fine sea salt or Himalayan salt are what I like to use.
The Steps
Make the Dough
1. Start by mixing together the water and sourdough starter in a large bowl with a wooden spoon or dough whisk.
2. Once milky and bubbly, add in the flour, and salt. Continue to mix until a shaggy dough forms with no dry spots of flour remaining. I like to use my hands at the end to get it nicely mixed.
Rise and Folds
3. Cover the dough with a tea towel and allow it to rest at room temperature for 30 minutes.
4. After 30 minutes, perform your first set of stretch and folds or coil folds. Cover the bowl with the tea towel and let rest another 30 minutes.
5. Repeat step 4, 2 more times, then cover the bowl and let it rest on the counter for 5-8 hours. This all depends on the temperature of your house. You want the dough to have some light bubbles forming and be soft and not too sticky to touch. Mine takes about 7-8 hours and it is 19 degrees Celsius in my house.
6. Once the dough is proofed, cover the bowl with plastic wrap and place it in the fridge for minimum 12 hours. You can leave it in the fridge for up to 24 hours.

Shape then Bake
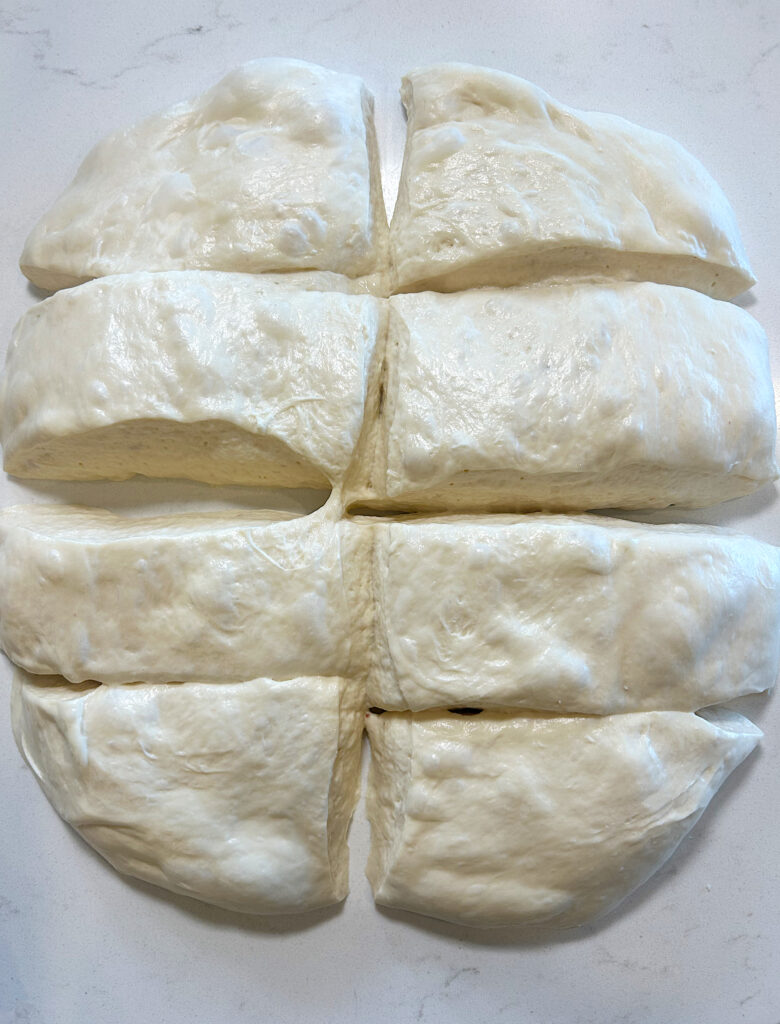
7. An hour before you are ready to bake the buns, remove the dough from the fridge. Dump it onto the counter and cut it into 8 roughly equal size pieces. I like to do rectangles.
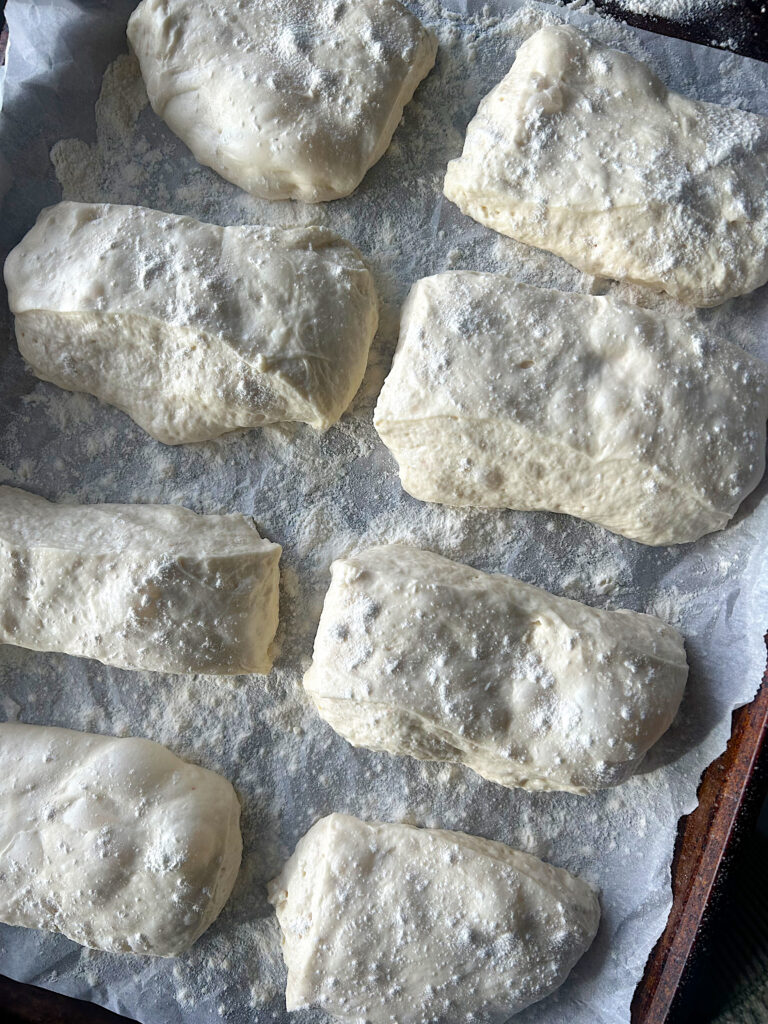
8. Wet your hands and gently lift each bun and place it onto a baking sheet lined with parchment, and a dusting of flour. The dough will be very sticky, do not be alarmed.
9. Gently flour to the top of the buns before covering with a tea towel and letting rest for 1 final hour.
10. Finally, preheat the oven to 475F.
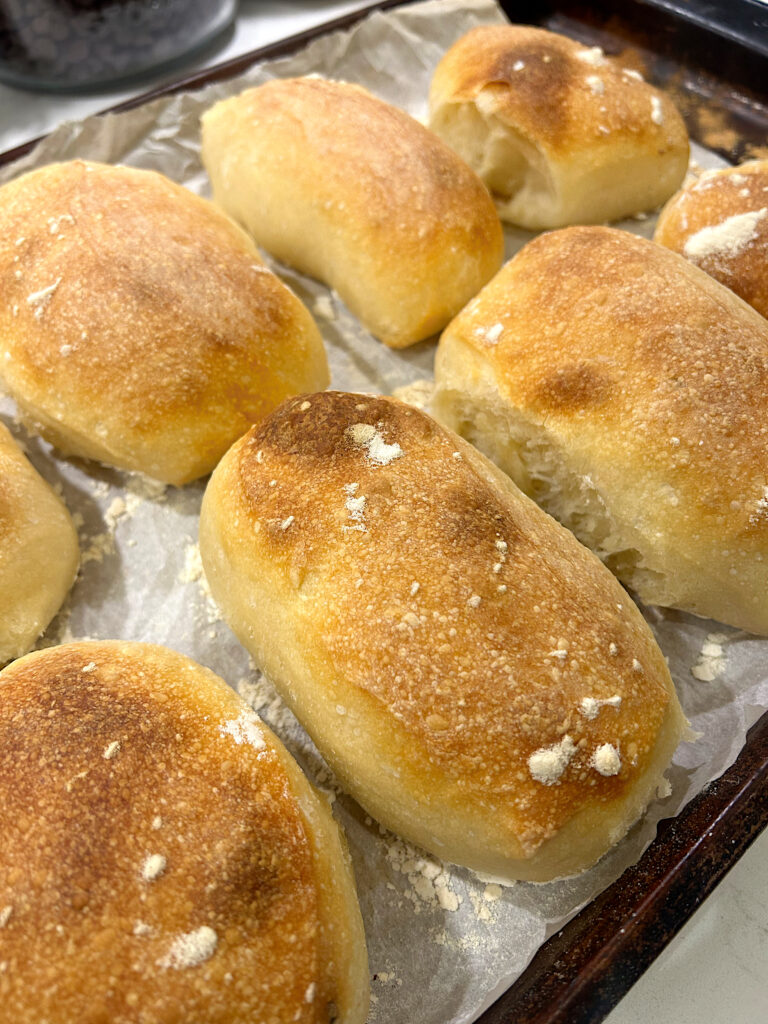
11. Bake the buns for 10 minutes then reduce temp to 450F and bake for another 10-13 minutes or until golden brown on top.
12. Let the buns cool for a few minutes before slicing and using for your favorite sandwich. Enjoy!
If you give this recipe a try, leave a comment or review below!
Looking for more staple sourdough recipes to try?
https://cmbarndominium.com/how-to-make-the-best-soft-sourdough-sandwich-bread/
https://cmbarndominium.com/the-best-sourdough-naan-bread/
https://cmbarndominium.com/how-to-make-soft-fluffy-sourdough-english-muffins/
These are the most heavenly sourdough ciabatta buns with a perfectly golden and chewy outside and a pillowy soft center. A staple sourdough recipe to make over and over. 1. Start by mixing together the water and sourdough starter in a large bowl with a wooden spoon or dough whisk. 2. Once milky and bubbly, add in the flour, and salt. Continue to mix until a shaggy dough forms with no dry spots of flour remaining. I like to use my hands at the end to get it nicely mixed. 3. Cover the dough with a tea towel and allow it to rest at room temperature for 30 minutes. 4. After 30 minutes, perform your first set of stretch and folds or coil folds. Cover the bowl with the tea towel and let rest another 30 minutes. 5. Repeat step 4, 2 more times, then cover the bowl and let it rest on the counter for 5-8 hours. This all depends on the temperature of your house. You want the dough to have some light bubbles forming and be soft and not too sticky to touch. Mine takes about 7-8 hours and it is 19 degrees Celsius in my house. 6. Once the dough is proofed, cover the bowl with plastic wrap and place it in the fridge for minimum 12 hours. You can leave it in the fridge for up to 24 hours. 7. An hour before you are ready to bake the buns, remove the dough from the fridge. Dump it onto the counter and cut it into 8 roughly equal size pieces. I like to do rectangles. 8. Wet your hands and gently lift each bun and place it onto a baking sheet lined with parchment, and a dusting of flour. The dough will be very sticky, do not be alarmed. 9. Gently flour to the top of the buns before covering with a tea towel and letting rest for 1 final hour. 10. Finally, preheat the oven to 475F. 11. Bake the buns for 10 minutes then reduce temp to 450F and bake for another 10-13 minutes or until golden brown on top. 12. Let the buns cool for a few minutes before slicing and using for your favorite sandwich. Enjoy! * This recipe is great doubled and the baked buns can be stored in the freezer for up to a month. * When cutting and moving the dough to a baking sheet, be nice and gentle with the dough. You want to handle it as little as possible to keep them nice and soft and airy. *Make sure to evenly spread the buns on the baking sheet as they can spread a bit when baking. 
Sourdough Ciabatta Buns
Ingredients
Instructions
Notes


Made these the other day, so delicious! Added into our rotation for sure.
So happy to hear!! They are great for so many things.
I made these to go with the French dips, and oh my goodness!! We’re adding this one to the weekly rotation. Even my picky kids ate a whole sandwich and said they wanted more buns!
That’s the best review, when the kids love them too!
So easy to make and delicious!
Okay! These ciabatta buns look incredible. I cannot wait to make them.
Great buns! I’m making them for a second time. My whole family loves them. Thanks for the recipe.