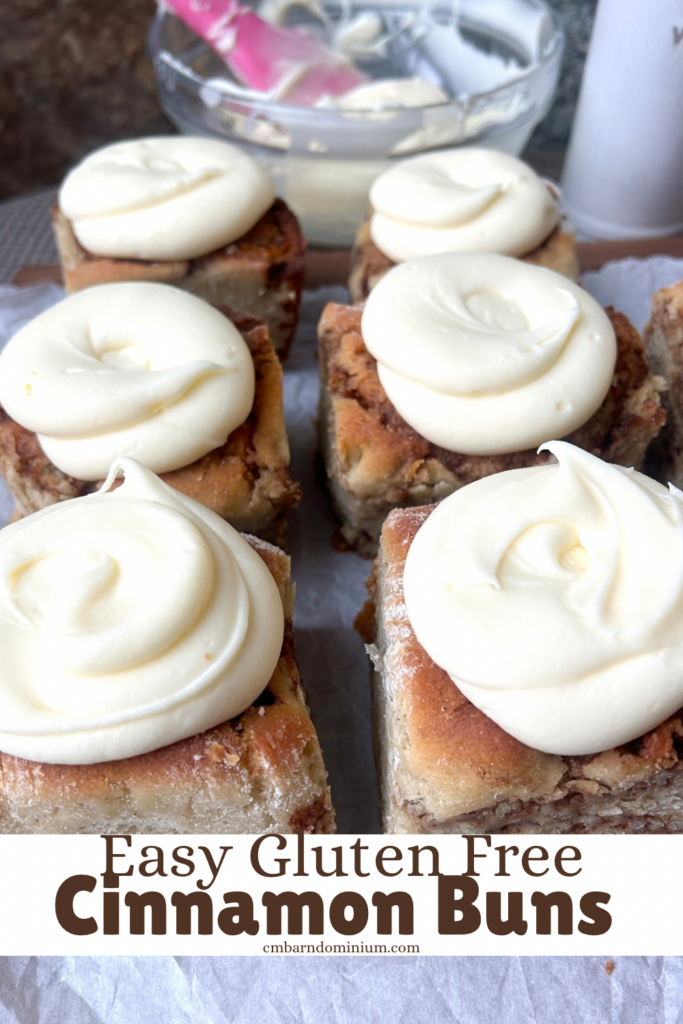
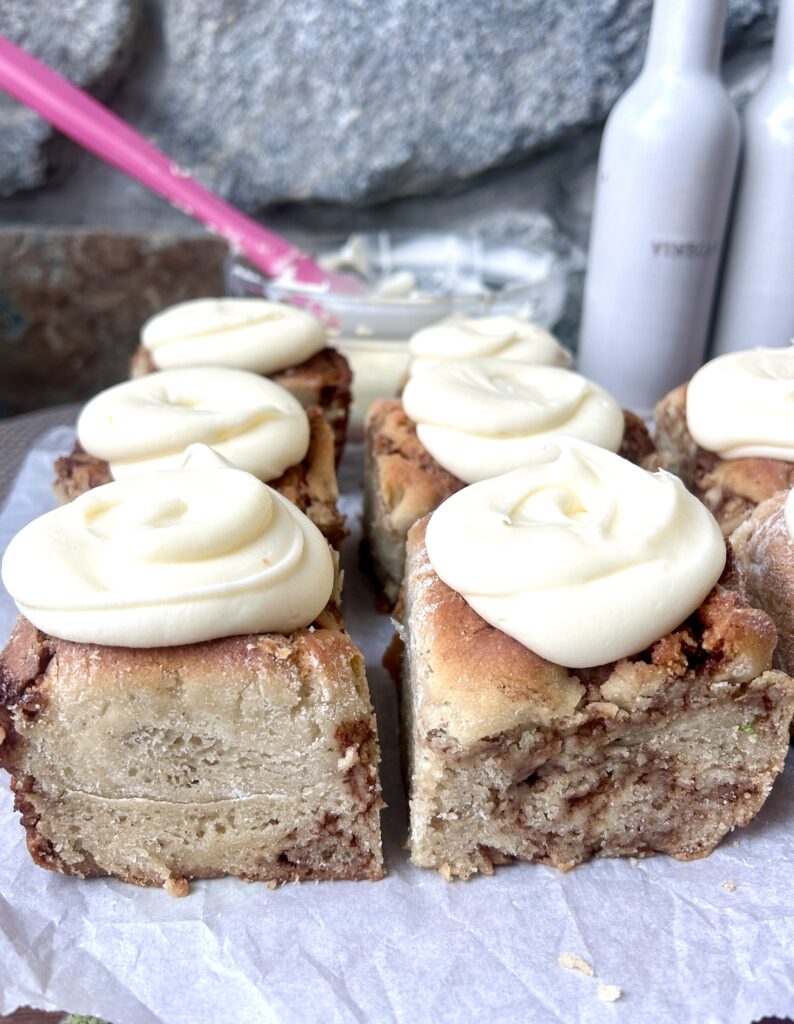
How To Make Easy Gluten Free Cinnamon Buns
If you are gluten free, it can be such a struggle to find tasty treats to enjoy but these Gluten Free Cinnamon Buns are a delicious treat you can make and enjoy at home. They are soft, sweet and decadent.
Most store bought gluten free baked goods are honestly quite terrible. They are often dry, lack in flavor and resemble cardboard…..I know you know exactly what I am talking about! That is why I made it a focus to create delicious gluten free treats when I had my baker and these cinnamon buns were a top seller!
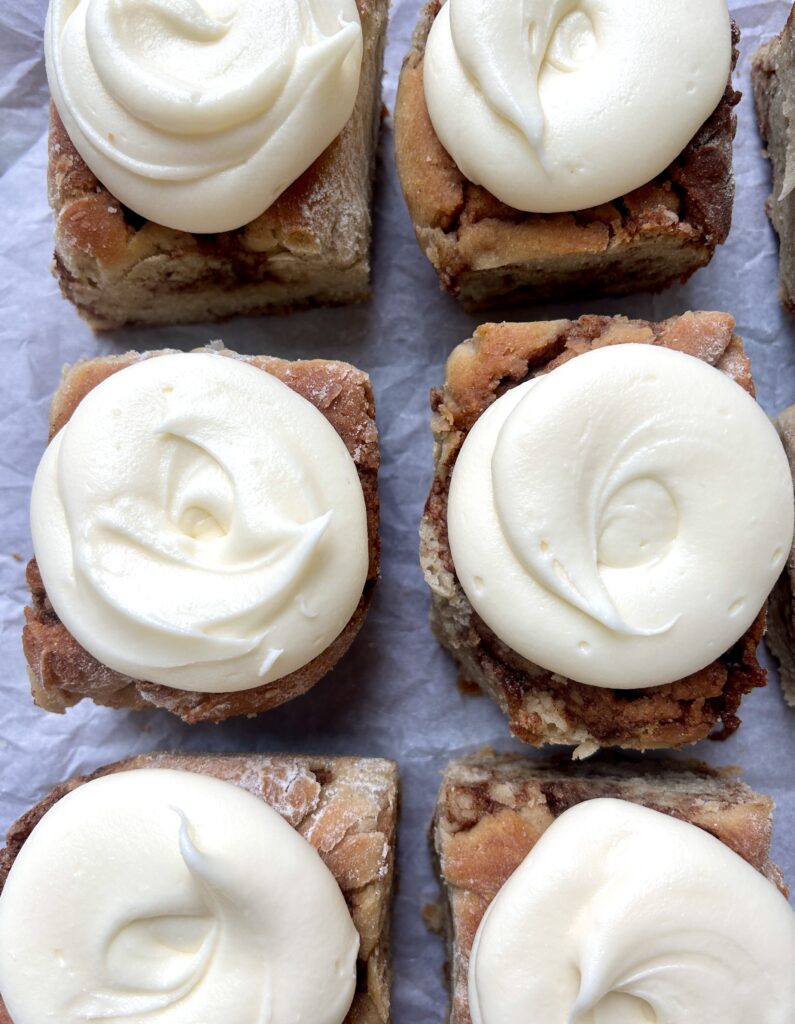
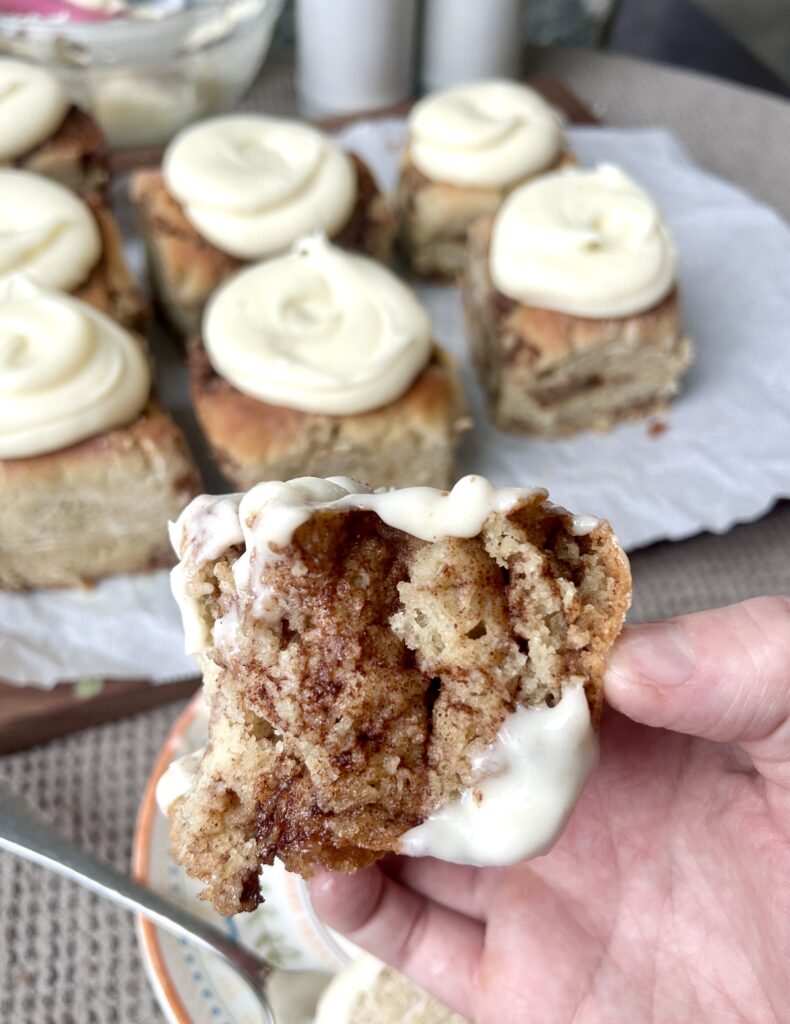
Now, these cinnamon buns are a yeasted bun but are closer to a baking powder cinnamon bun texture, if you have ever had those! They are soft and fluffy, but will not be as airy and chewy as a gluten filled one. That being said, they are absolutely delicious and easy to make. Perfect to enjoy warm with breakfast or an afternoon treat.
You start by mixing together a simple dough. Then, let it rise for a couple hours before rolling it out. Spread over your butter, cinnamon and sugar layer before rolling them up and slicing into buns. They get a final short rise, before baking until nice and golden. Then, of course you have to finish them off with a thick and smooth cream cheese icing.
This post contains an affiliate link which means I make a small commission at no extra cost to you.
Tips for Making Gluten Free Cinnamon Buns
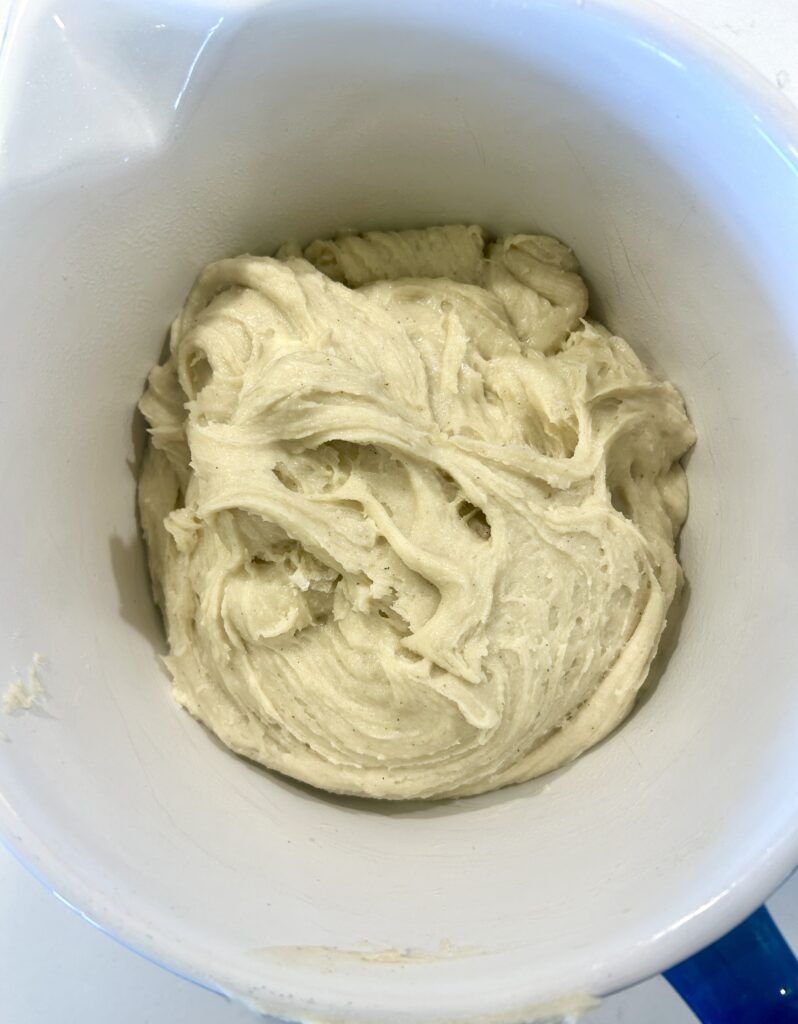
- When mixing the dough, if it seems extremely runny, add in a bit more flour until you get a thicker dough consistency. This will be a sticky dough no mater what, but if it is too thin it will be impossible to roll.
- Because this is a sticky dough, you want to make sure you flour your counter very well before rolling the dough. Also, flour the top of the dough or it will stick to your rolling pin.
- To help with getting the dough rolled up, I like to use a bench scraper to help gently roll the dough as it can get stuck to the counter in spots. Be gentle and roll the dough the best you can.
Gluten Free Cinnamon Bun Ingredients
Milk– Whole milk or 2% are the best for this recipe.
GF Flour– Bobs Red Mil 1 to 1 gluten free flour blend is what I use for this recipe. (the blue bag). I have not tested it with other gluten free flour blends.
Sugar– You will need granulated sugar for the dough and brown sugar for the filling.
Eggs– Use room temperature eggs in the dough.
Oil– I have always had the best success with these buns using a sunflower or canola oil, BUT I like to use avocado oil instead. Use any of these oils listed.
Baking Soda & Cream of Tartar– These work together to help leaven the buns.
Butter– Salted or unsalted works.
Cinnamon– Just needed for the cinnamon sugar filling.
Powdered Sugar- This helps give you a perfectly smooth icing.
Cream Cheese– For a thick frosting you want to use brick style cream cheese.
The Steps
Make the Cinnamon Bun Dough
- Start by stirring together the milk, 1 tsp of sugar and yeast in a small bowl or measuring cup. Let sit for 5 minutes to bloom.
- Next, add that milk mixture along with the eggs, 1/2 cup sugar and oil to a bowl of a stand mixer. Stir with a fork until mixed.
- Then, add in the flour, baking soda, cream of tartar and salt.
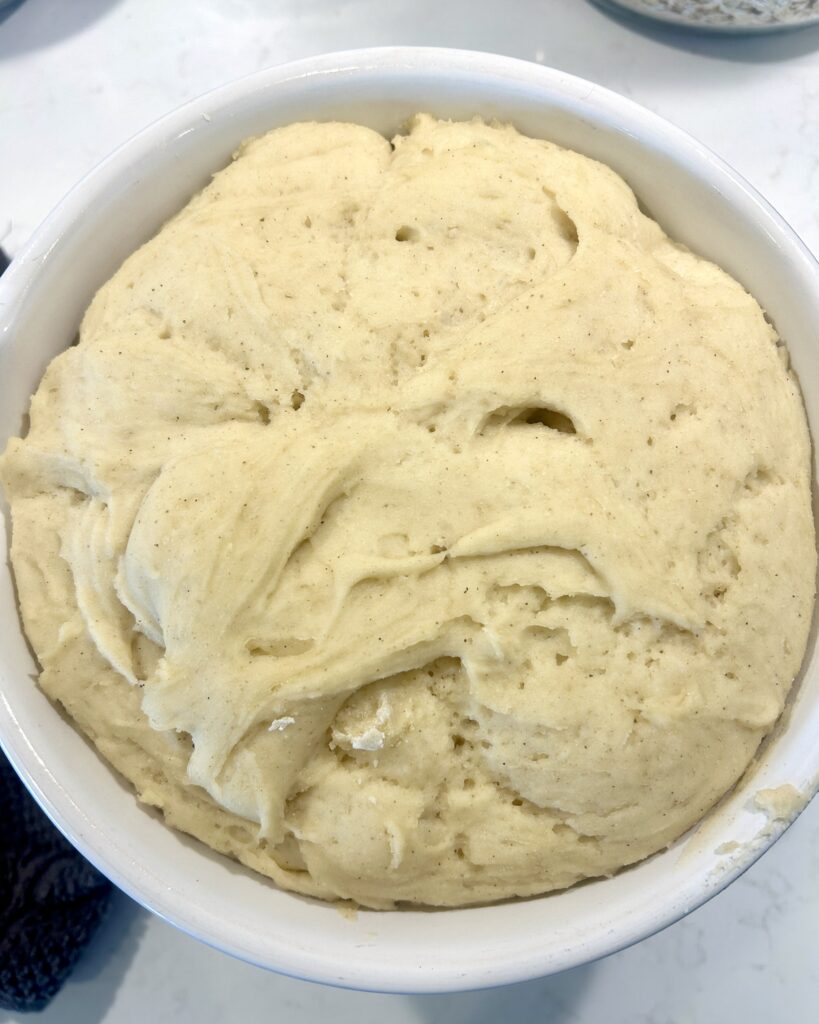
- Mix the dough together in a stand mixer with a dough hook attachment for 1-2 minutes until you have a thick and sticky dough.
- Transfer the dough to a greased bowl, and cover with a tea towel to let rise for 2 hours.
Roll The Dough
- After the dough has risen, mix together the 1/2 cup softened butter, with the brown sugar and cinnamon. Stir until smooth.
- Generously flour your counter with some of the gluten free flour, then dump the dough onto the counter.
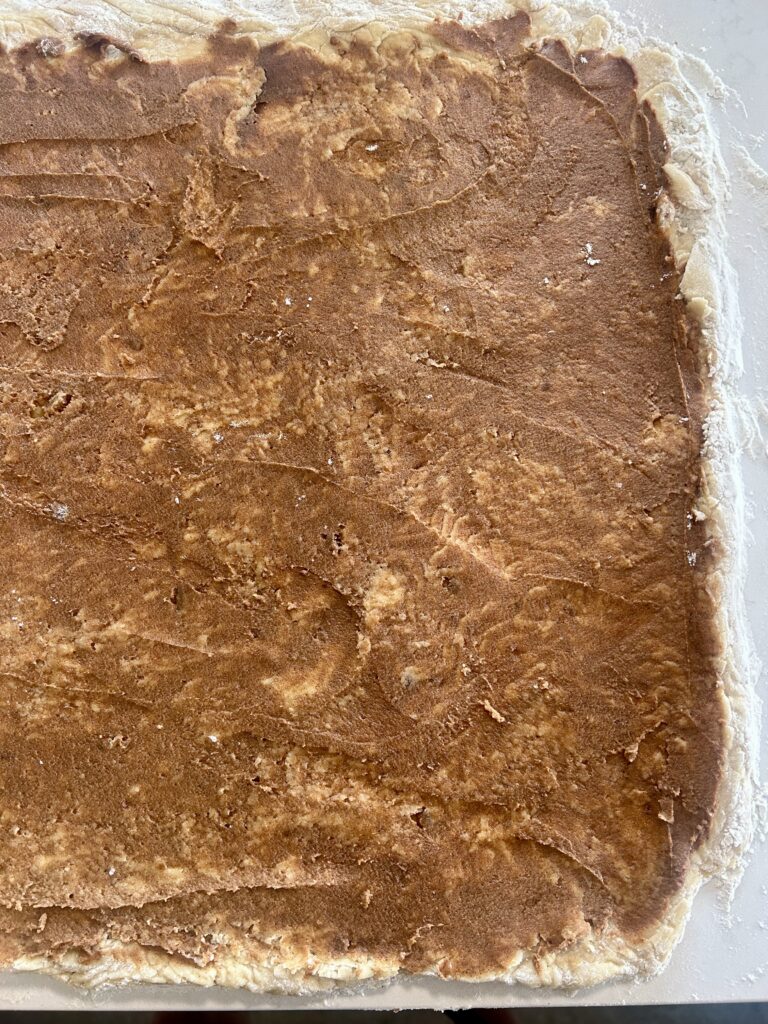
- Sprinkle flour over the top of the dough, then roll it out into a large rectangle. The dough will be soft so it is not tough to roll.
- Once you have a rectangle about 16 inches wide or so, spoon the brown sugar mixture on top, and spread it out over the dough.
- Starting at the bottom closest to you, gently roll the dough into a log away from you. If your dough is sticking to the counter in any spots, use a bench scraper or metal spatula to gently lift the dough off the counter so you can roll it.
- Slice the log of dough into 10 pieces (I like to cut off the very edge of either side to make it straight).
- Grease a 9×13 baking dish, and place the buns in it. You should get 3 rows of 3 buns with one bun by itself in the 4th row.
- Cover the buns with a tea towel and let rise for a final 45 minutes.

Bake the Buns
- Preheat your oven to 350F, and then take some foil and fold a few pieces to use as a divider in your pan to prevent the buns from spreading into the empty corner of the pan.
- Bake the buns for about 30 minutes or until lightly golden on top and they feel set in the center.
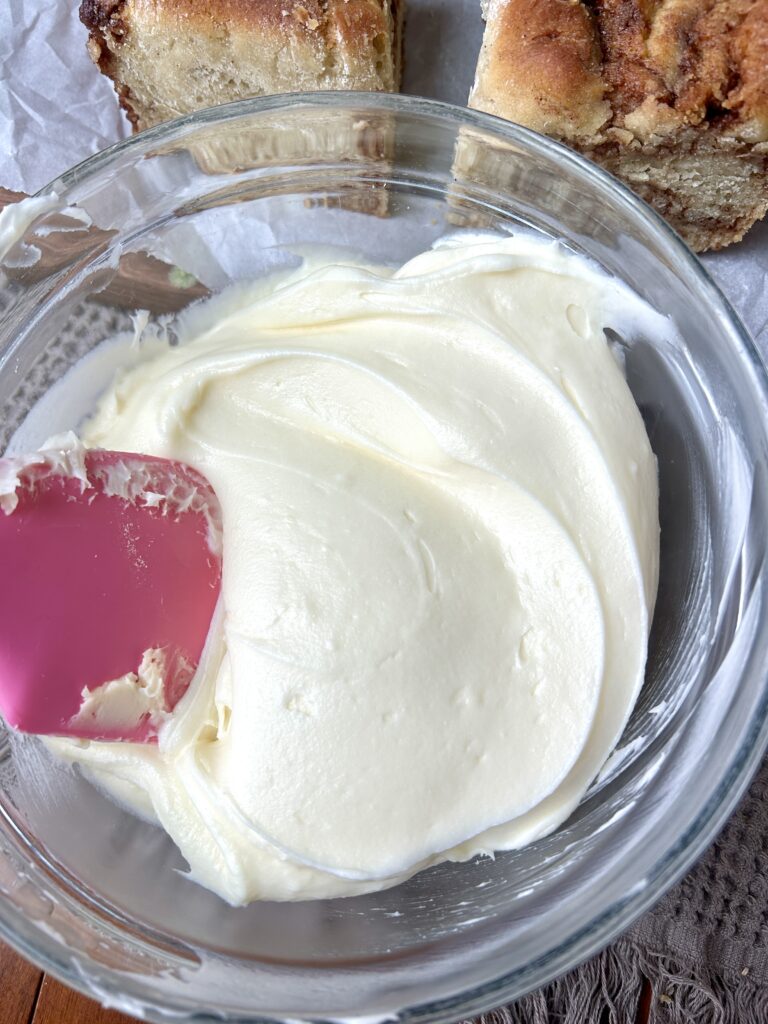
- While the buns bake, beat the 1/2 cup softened butter in a stand mixer with a paddle ttachment until light and fluffy. About 5-7 minutes.
- Then add in the powdered sugar and beat until smooth.
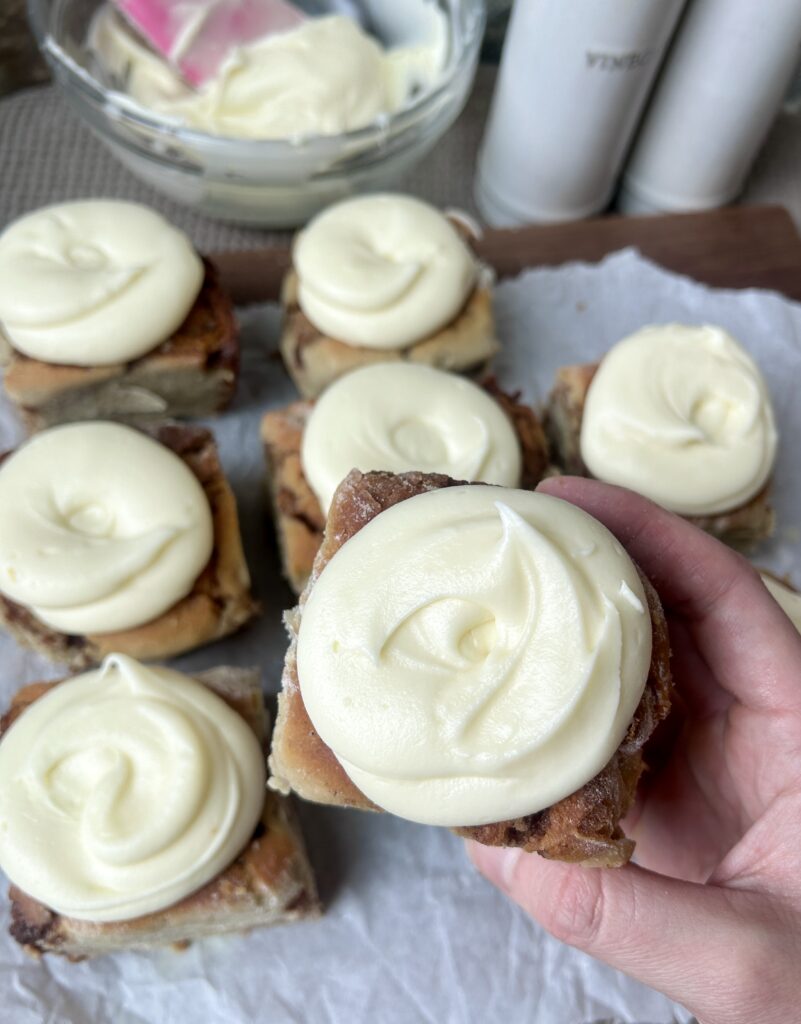
- Finally, add in the cream cheese and beat just until smooth. If it seems really thick you can add a dash of milk.
- Allow the buns to cool for 30 minutes before topping with icing.
- These buns are best enjoyed warm so I always recommend reheating them to get them nice and soft before serving!
if you give this recipe a try, leave a comment or a recipe review below!
Looking for more gluten free treats to bake?
https://cmbarndominium.com/healthy-peanut-butter-cookie-bars/
https://cmbarndominium.com/the-best-easy-healthy-morning-glory-bars/
https://cmbarndominium.com/how-to-make-healthier-oat-fudge-bars/
Soft and tender, gluten free cinnamon buns, topped with a thick cream cheese frosting that are easy to make and delicious! * This recipe can easily be doubled if you want to make a bigger batch. * When mixing the dough, if it seems extremely soft and almost runny, add in a couple more tbsp of flour. * This is a sticky dough, so make sure you are using a generous amount of flour both under neath and on top of the dough when rolling it out. 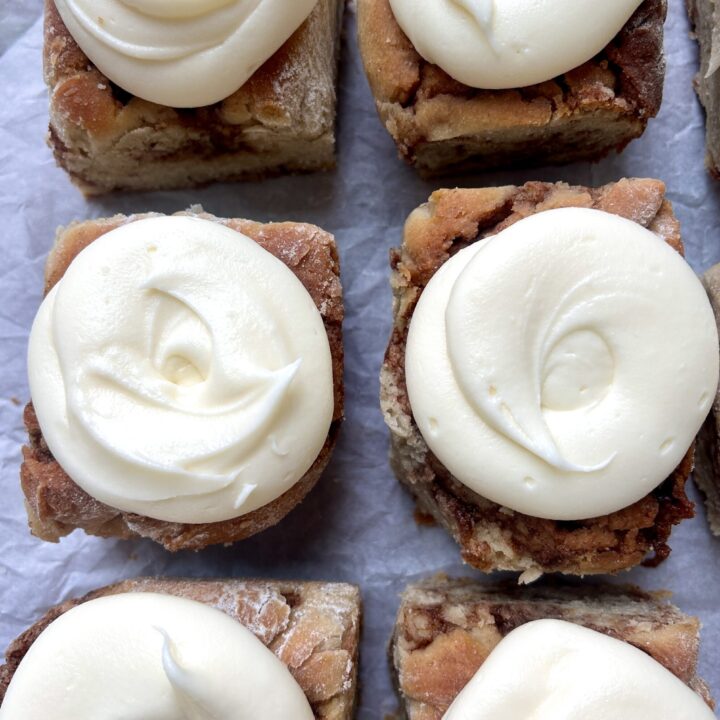
Gluten Free Cinnamon Buns
Ingredients
For the Icing
Instructions
Notes